NPT Trimmer Motor PN: 35127
1. Open the Operating Software.
2. Turn the machine OFF.
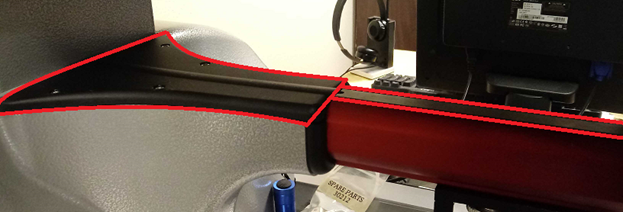
3. Remove the Lower Arm Rear Cover.
4. Remove the Lower Arm Extension Cover and Lower Arm Rear Cover.
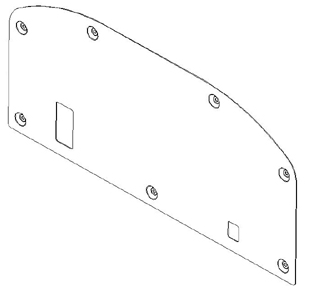
5. Remove the Needle Plate.
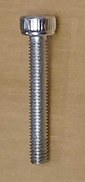
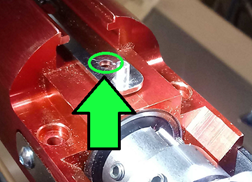
6. Engage the screw used to attach the needle plate into the hole at the front of the NPT Connecting Link Assembly verify it locks into the lower arm.

7. Unplug the motor from the K4 port.
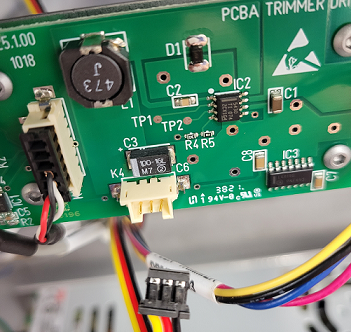
8. Plug the new motor into K4.
9. Turn the machine ON.

10. Cycle the Emergency Stop Button, and check for movement.
11. If you aren't able to confirm the motor is moving correctly, Disable the NPT Trimmer Sensor. Then Cycle the Emergency Stop Button again. Do a Selector Start Test, to check for movement. (Internal Article)
12. Turn the machine OFF.
13. Unplug the new motor from K4.
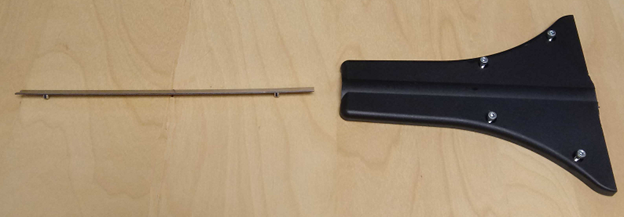
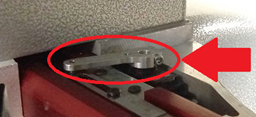
14. Remove the NPT Drive Arm PN: 34989 from the old motor.
15. Remove the two screws to the Mounting Bracket PN: 34988
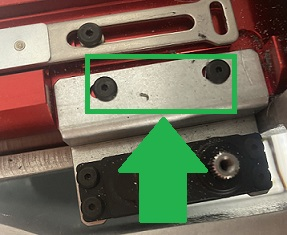
16. Remove the old NPT-motor from the bracket.
17. Screw the new motor onto the bracket.
18. Screw the bracket into the machine, check the NPT Motor Assembly To Machined Lower Arm Gap.
19. Plug the motor into K4.
20. Attach the NPT Drive Arm PN: 34989 to the NPT-motor.
21. Remove the engaged screw from the front of the Link Assembly:
22. Turn the machine ON.
23. Setting Connecting Link Assembly To Home.