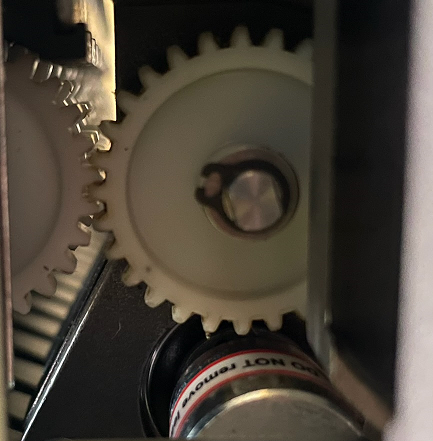
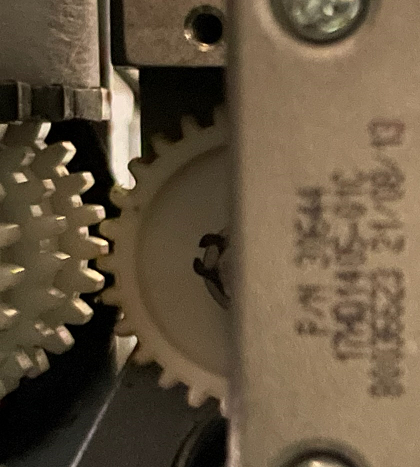
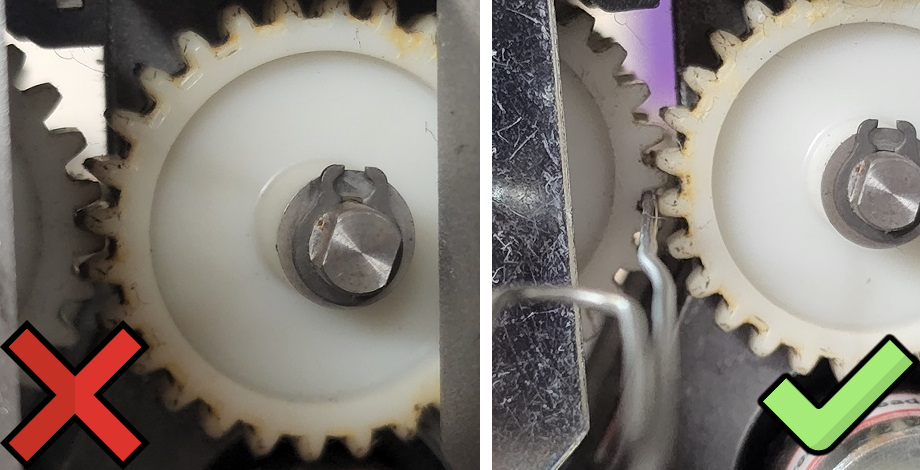
If the Thread Feed Assembly Z28 Gear PN: 30617 and Thread Feeder Wide Gear PN: 34178 are too tight (picture on the left) or too loose (picture on the right) you might need to adjust the Thread Feed Assembly Gear Gap following the steps below.
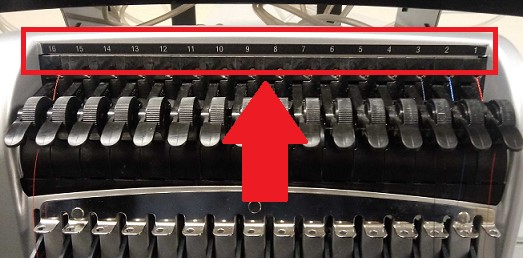
1. Color Change to Needle #16.
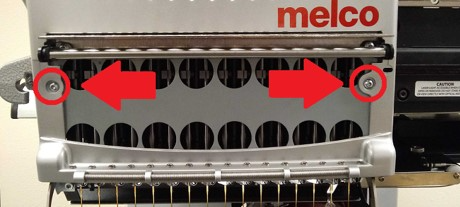
2. Remove the Left and Right Color Change Drive Covers, also known as Clam Shell Covers.
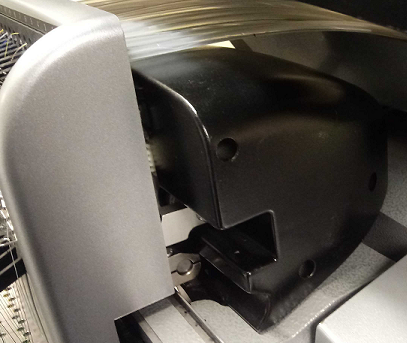
3. Remove the Front Magnetic Access Cover.

4. Remove the Needle Case Cover by taking out the two screws holding it in place.
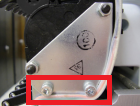
5. Loosen the two M4 Nuts PN: 680430-04 on the left side of the Thread Feed Assembly.
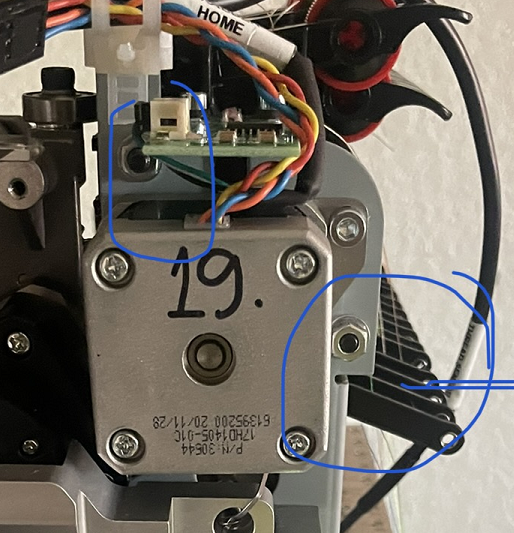
6. Loosen the two M4x6mm Screws PN: 010171-06 on the right side of the Thread Feed Assembly.
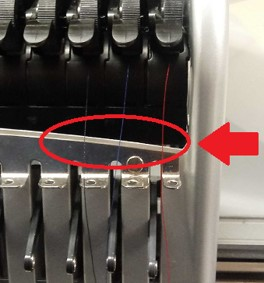
7. Adjust the Thread Feed Assembly until there is a Paperclip-sized gap between the Valley and Tooth for the contact point of the gears.
8. Tighten the two M4 Nuts PN: 680430-04 on the left side of the Thread Feed Assembly.
9. Color Change to Needle #1.
10. Adjust the Thread Feed Assembly until there is a Paperclip size gap between the Valley and Tooth for the contact point of the gears.
11. Tighten the two M4x6mm Screws PN: 010171-06 on the right side of the Thread Feed Assembly.
12. Test the Thread Feed on #1 and #16 by pushing Laser + Up. If it's not feeding thread, you will need additional technical assistance. Here are the available Melco Technical Support options.

13. Check the Gap and test the Thread Feed on #9. If it's correct, you can reassemble the covers. If not, you will need additional technical assistance. Here are the available Melco Technical Support options.
• The Thread Feed 16 Needle Assembly might need to be replaced.
14. Reinstall the Needle Case Cover and both screws holding it in place, but leave them loose.
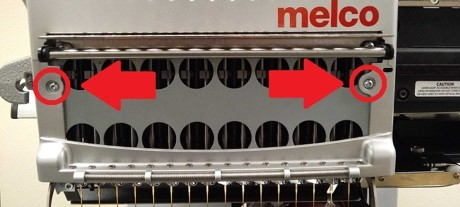
15. Make sure the threads are in front of the Needle Case Cover.
16. Make sure the top of the Needle Case Cover is seated in the top of the Needle Case. You might have to carefully lift the cover up until it snaps into place.
17. Tighten the screws for the Needle Case Cover.
18. Reinstall the Front Magnetic Access Cover.
19. Reinstall the Clam Shell Covers.
