Full WACF Assembly and Parts, including Frame Parts, are available on ShopMelco.
Here is a video presentation for Adjusting Red Wide Angle Cap Frame Driver (Height). Also, this installation video is included in the the online manual.
This procedure may need to be performed if the Red Wide Angle Driver was purchased separately from your Melco machine, or if the driver has been dropped or mishandled, if the initial installation of the driver shows the adjustment to be off, or if advised by Melco Technical Support.
It is recommended that the Red Wide Angle Driver be adjusted to custom-fit individual Melco machines. A driver that is not properly adjusted to the machine it is used on will result in negative impact to sew out quality and machine productivity and reliability
Inspection:
1. Install the Cap Driver on the machine.
2. Select the Red WACF in the software.
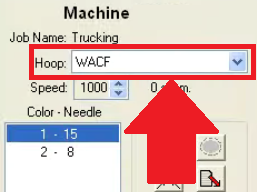
3. Using the keypad, bring the driver as far forward as it can go.
4. Place a business card of medium to heavy stock between the needle plate and the cap driver ring. A single business card should be able to slide between them with little resistance. A gap of two business cards is acceptable. Check if the business card can slide all the way through the back.

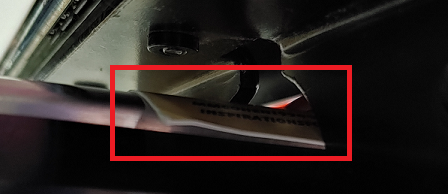
5. If the gap is too small or too large, the driver will need to be adjusted using the steps below. You might also need to adjust the driver if you are experiencing X or Y errors, even if the business card fits in the gap.
Adjustment Procedure:
1. Begin by loosening the four hex screws, but do not remove them.

2. Remove the Driver from the machine.
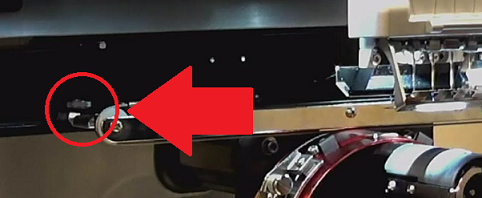
3. Apply a thin line of Oil using the Needle Nose Pen Oiler to the Support Arm.

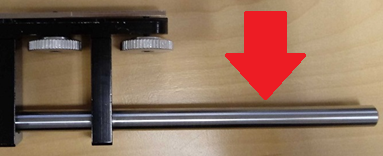
4. Reinstall the Driver onto the machine.
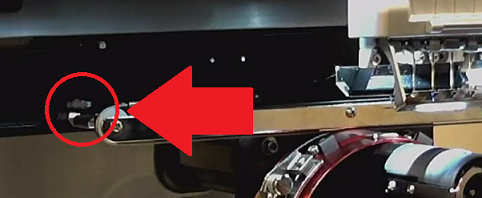
5. Align the Driver left to right so it is centered on the hole in the needle plate.


6. Using the keypad, bring the cap driver as far forward as it can go.

7. Place a business card of medium to heavy stock (or equivalent) between the needle plate and the driver ring. This will act as a spacer. The ring should just rest on the card.

8. Making sure the edges of the two black brackets are aligned, begin to tighten each screw in a star-like pattern, starting with a top screw. Don’t fully tighten any screw until all screws have been somewhat tightened.
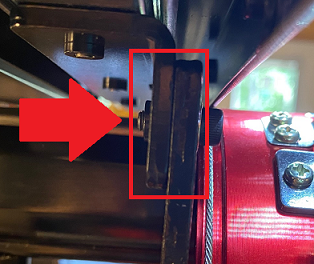


9. Move the pantograph as far left and right as it can go (x).


Move the pantograph as far front and back as it can go (y).


Check for any binding or scrapping. If it moves freely adjusting the Red Wide Angle Cap Frame Driver high is complete.