Here is a YouTube video clip about gapping the Rotary Hook Support.
1) Insert the Hook Retaining Finger Gauge between the Rotary Hook Support (Retaining Finger) and the Hook Basket. If the gauge does not slide in easily, do not force it. Forcing it may scratch the highly polished surface of the Rotary Hook Support or Hook Basket, which could damage the hook and result in excessive thread breaks.
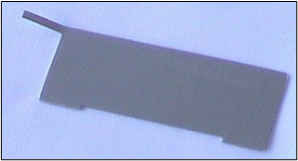
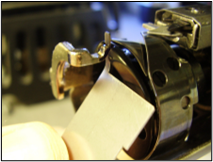
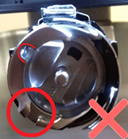
The left picture is the Hook Retaining Finger Gauge. The right picture shows where to place that gauge in the front of the hook.

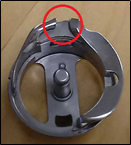
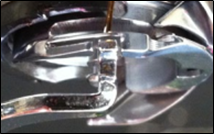
The left picture is the Rotary Hook Support. The right picture is the Hook Basket.
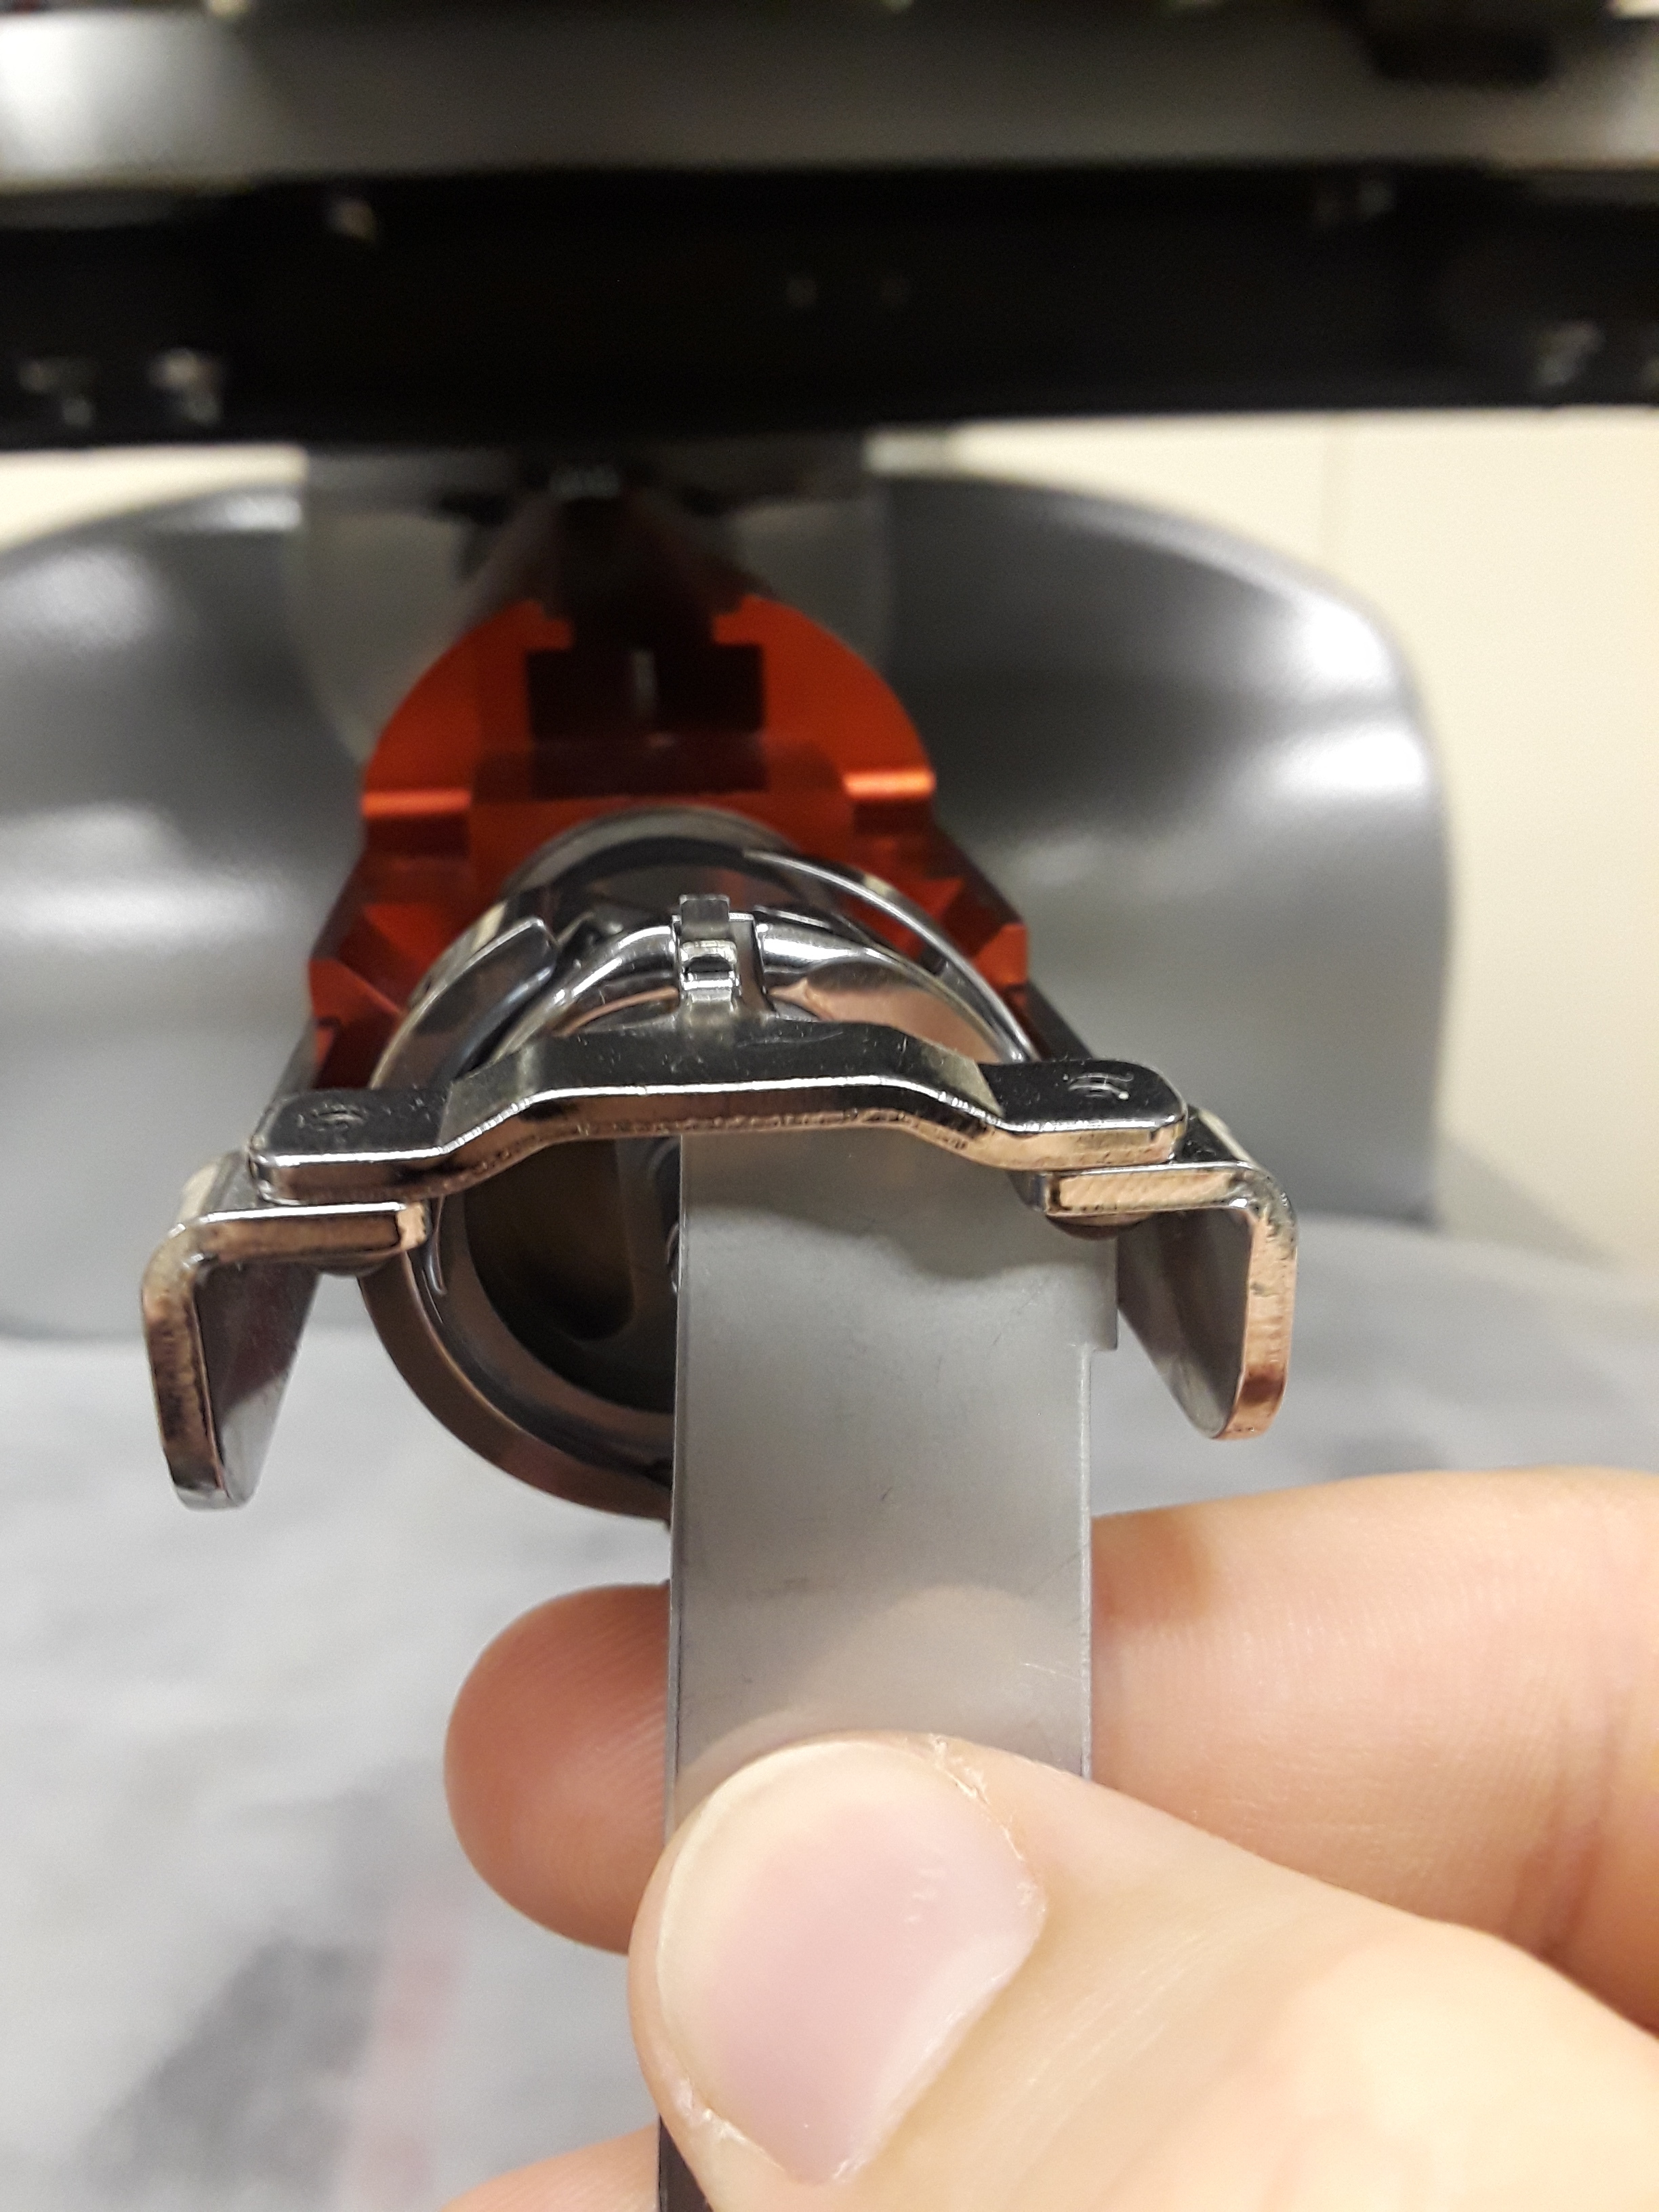
2) The Hook Retaining Finger Gauge should slide between the Rotary Hook Support and the Hook Basket with no resistance and the gap between the hook support and hook basket should not be more than 1.1 times the thickness of the gauge.
3) The tip of the Rotary Hook Support should be flush with the top of the Hook Basket.

4) If Steps 2 and 3 are correct skip the rest of the steps in this section. If they are not correct, proceed.
5) Use the 2mm Allen wrench to loosen the 2 screws holding the Rotary Hook Support.

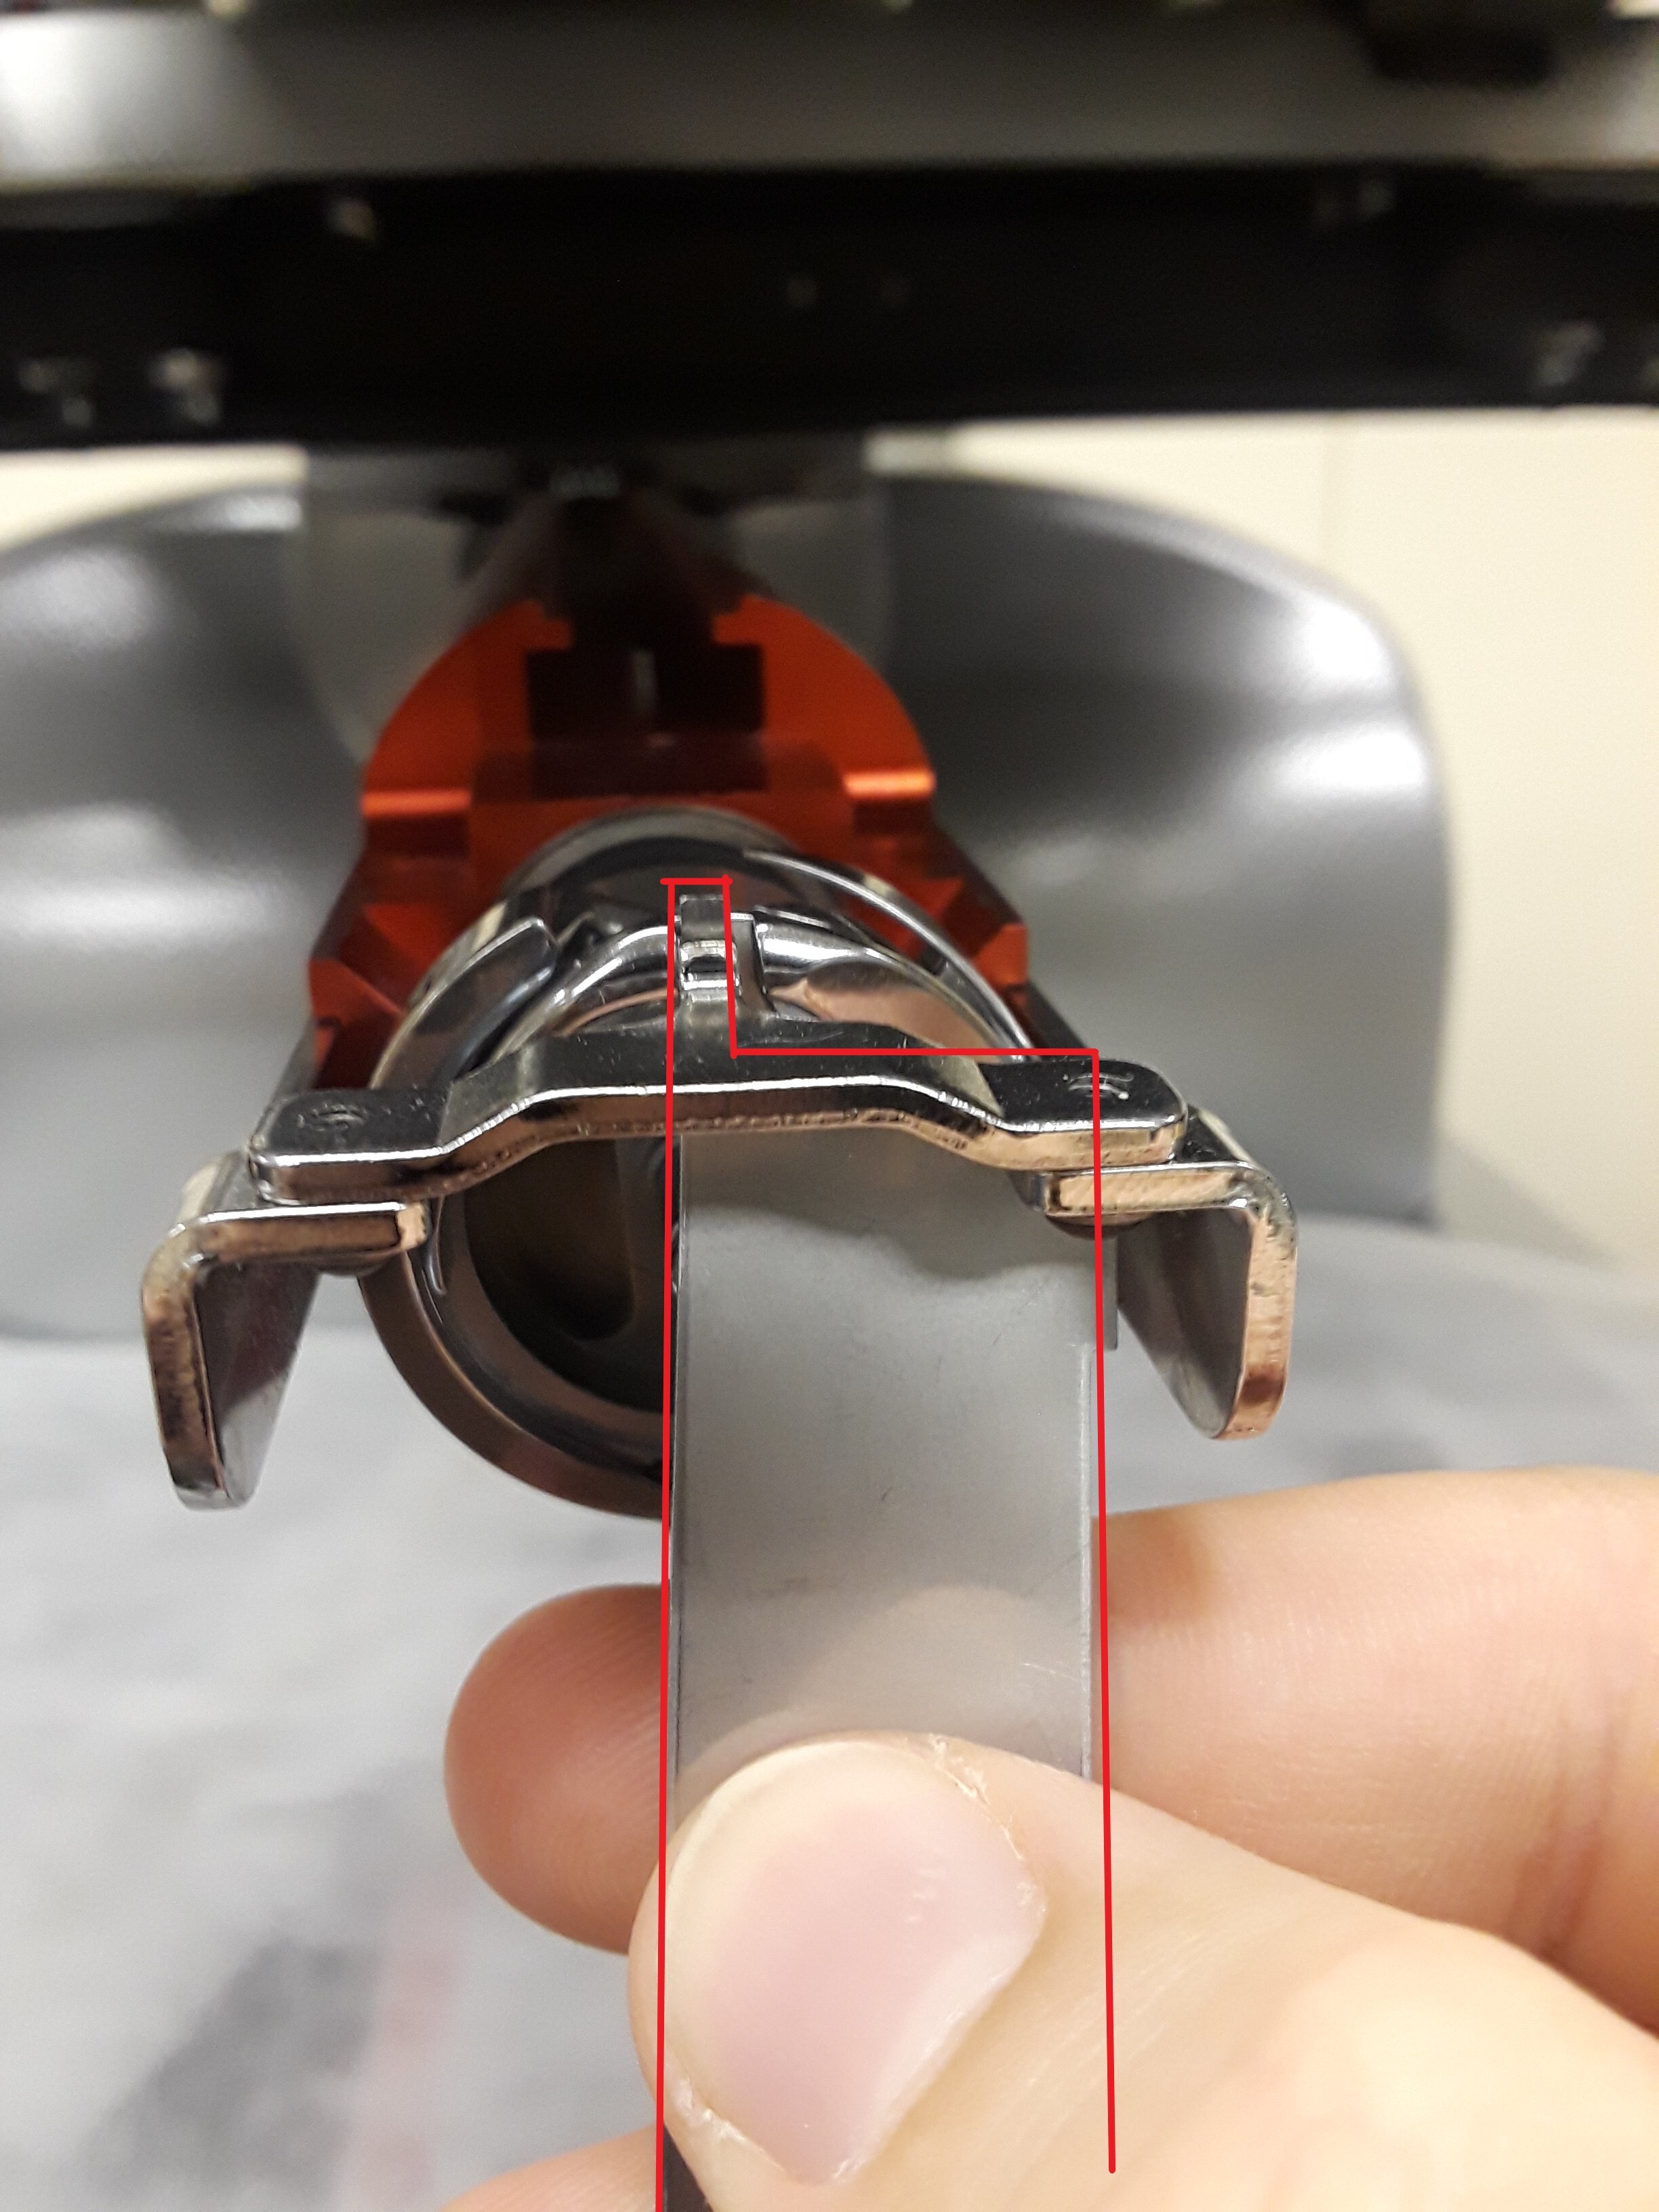
6) Position the Rotary Hook Support in the notch at the top of the Hook Basket. If the Hook Basket is not spinning freely, something is likely jammed in it. Look for something inside of the Hook that could be binding, such as a broken needle.

7) Insert the gauge between the Rotary Hook Support and Hook Basket and set the correct placement of the Rotary Hook Support. Review Steps 2 and 3 in this section for the correct placement.
For Needle Plate Trimmer Systems:
Click Here for Video Instructions
Viewing Screws from Underneath:
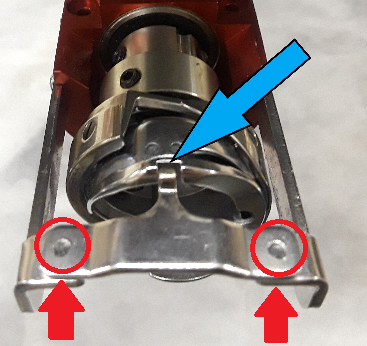
8) Tighten the 2 screws holding the Rotary Hook Support.
9) After tightening the screws, verify Steps 2 and 3 again.
10) Rotary Hook Support Adjustment is now Completed.